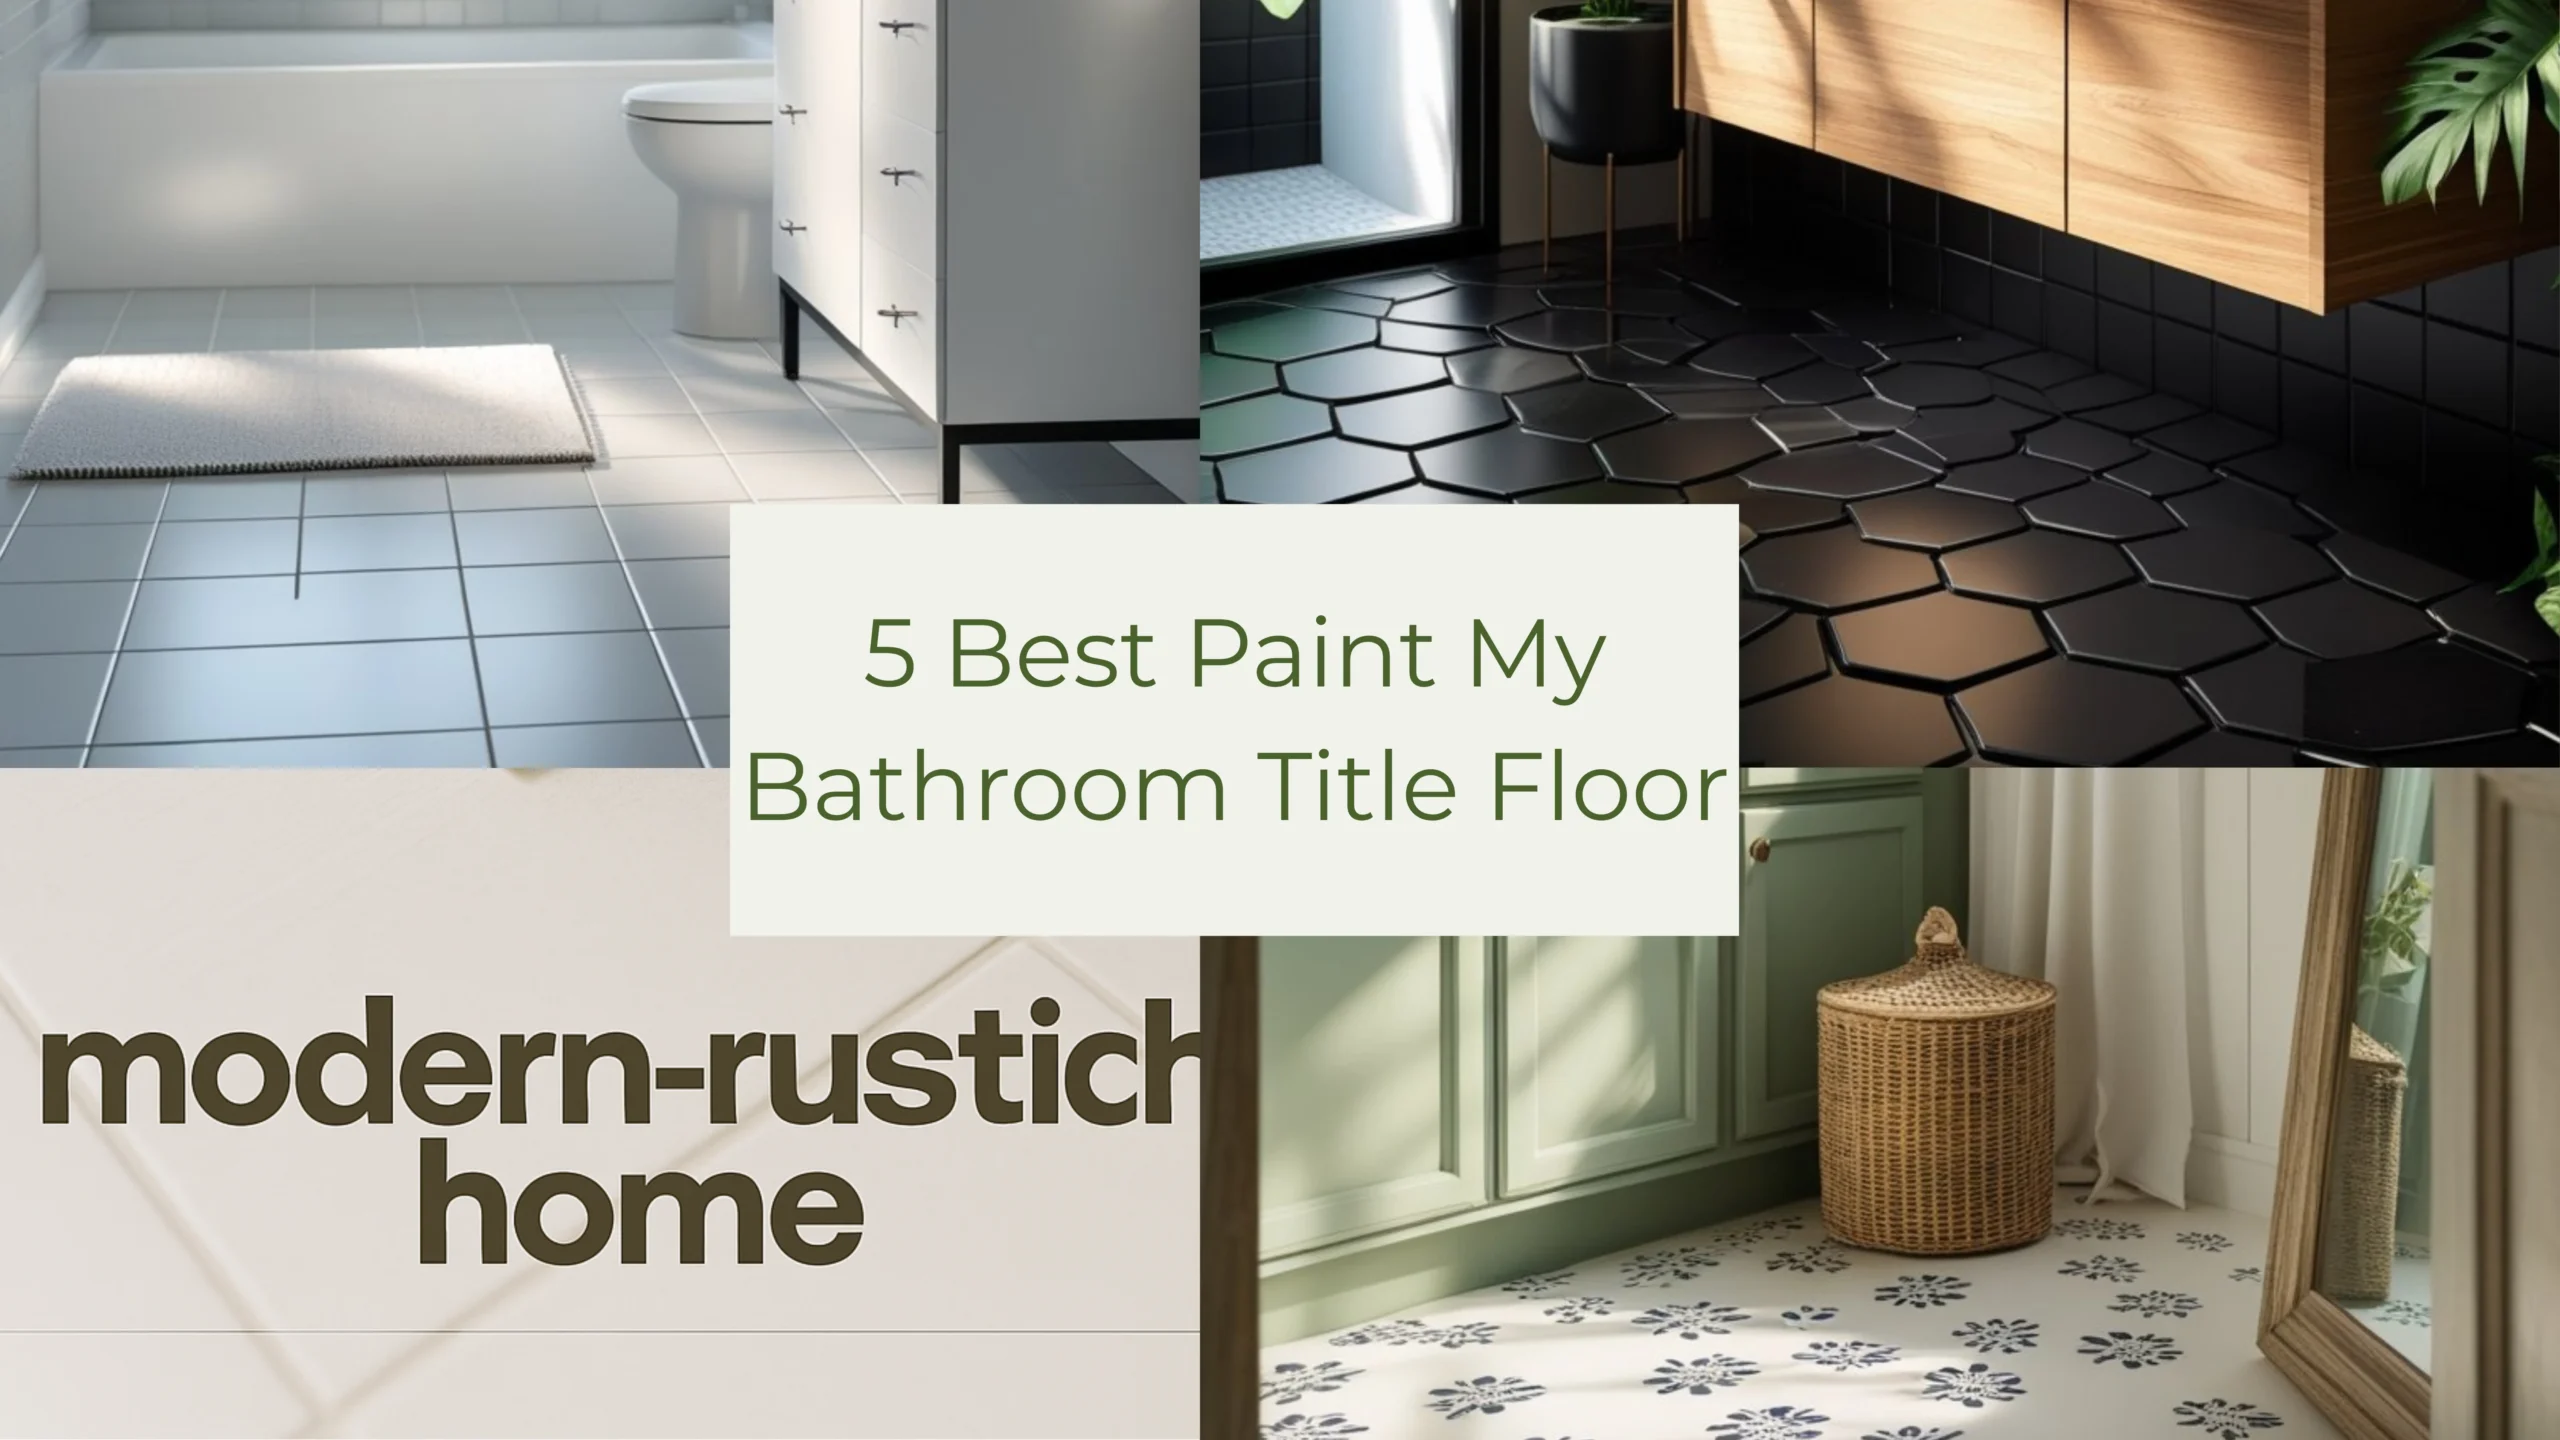
Why I Decided to Paint My Bathroom Tile Floor
I still remember the morning I stood barefoot on my bathroom floor, staring at the faded beige tiles that looked like they hadn’t been loved since the early 2000s. Replacing them would’ve cost a chunk, so I turned to paint. Yep—paint! And let me tell you, I had my doubts, but a little research (and caffeine) convinced me this could work beautifully.
The goal? A clean, modern look that wouldn’t scream “DIY gone wrong.” I wanted something bold, affordable, and still classy. So I rolled up my sleeves, scrubbed like my security deposit depended on it, and got started.
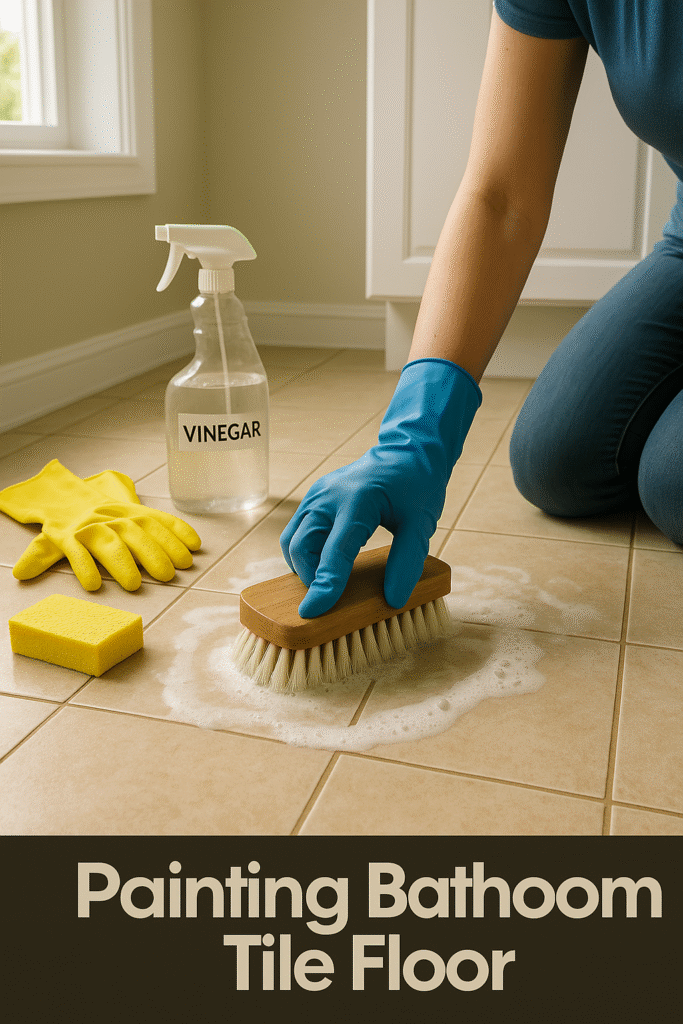
Prepping the Tile: Cleaning Is Half the Job
Before I even touched a roller, I tackled the grime. And no, a quick mop didn’t cut it. I mixed vinegar with warm water, grabbed a stiff brush, and got on my knees like a floor warrior. The buildup in those grout lines was not going down without a fight.
I also used a sponge for lighter stains and dish soap to break through the oils. Once everything looked squeaky clean, I let the floor dry for a full day. If you’re thinking of skipping this step—don’t. Paint won’t stick to dirt, and you’ll end up redoing the whole thing.
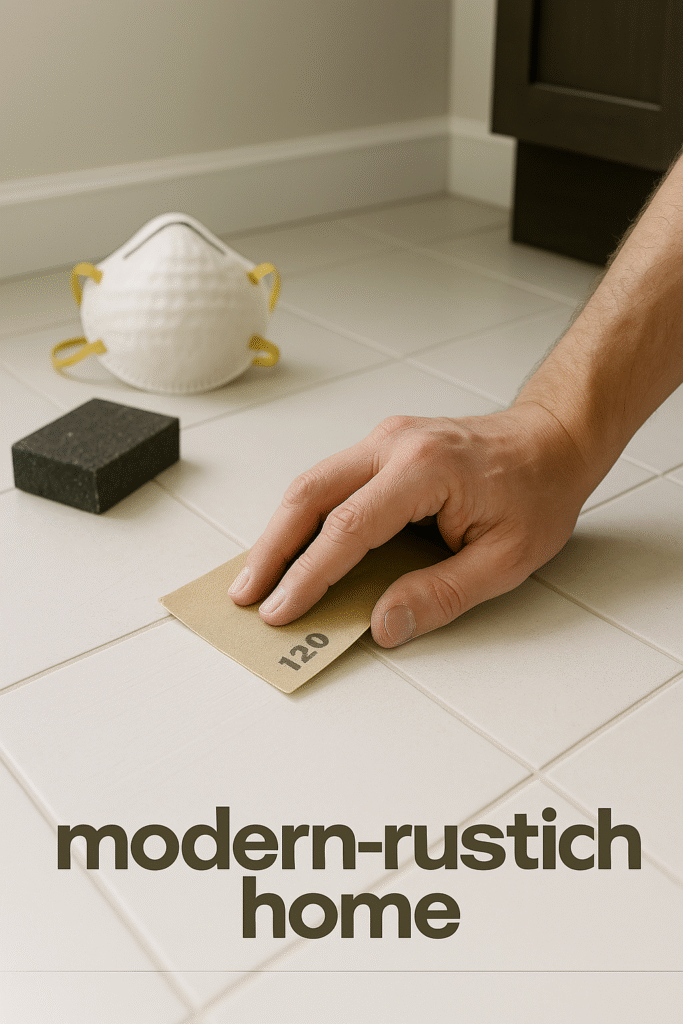
Sanding and Safety: The Real Start
With the floor dry, I moved on to sanding. I used 120-grit sandpaper and a sanding block, which felt just rough enough to scuff up the surface without ruining the tiles. The idea is to dull the shine, not destroy the tile.
I wore a dust mask the entire time—there’s no glory in coughing up tile dust for days. It’s a bit tedious, but once done, I wiped the whole surface with a damp cloth to pick up any powder left behind. Pro tip: work in sections and use kneepads unless you like sore legs.
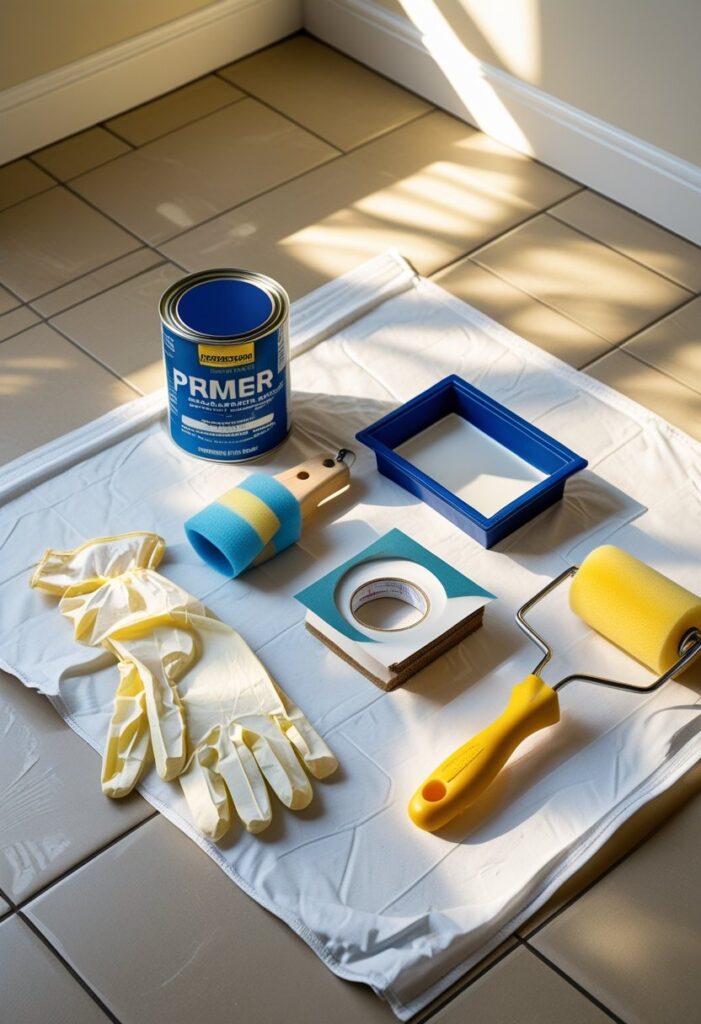
Tools You’ll Need (And What I Used)
Here’s what sat on my bathroom floor before I began:
- Latex gloves (you’ll thank me later)
- Primer (make sure it’s tile-safe)
- Painter’s tape
- Foam roller (for smooth application)
- Paint tray
- Fine-grit sanding pad
I also laid down an old sheet to keep things neat. Most of this I grabbed from a local hardware store in one trip. It didn’t break the bank, and honestly, it made the whole job much easier.
Priming the Tiles: Don’t Skip This Part
Once prepped, I rolled on the bonding primer. This step felt like painting invisible armor onto the floor. It looked almost the same at first, but it changed how the paint clung on later—big difference.
I used a foam roller for smooth, even coverage and made sure the primer didn’t pool in the grout lines. One thin layer was enough. I let it dry overnight and tried not to walk on it (which meant some awkward bathroom breaks, trust me).
Choosing the Right Pattern or Paint Style
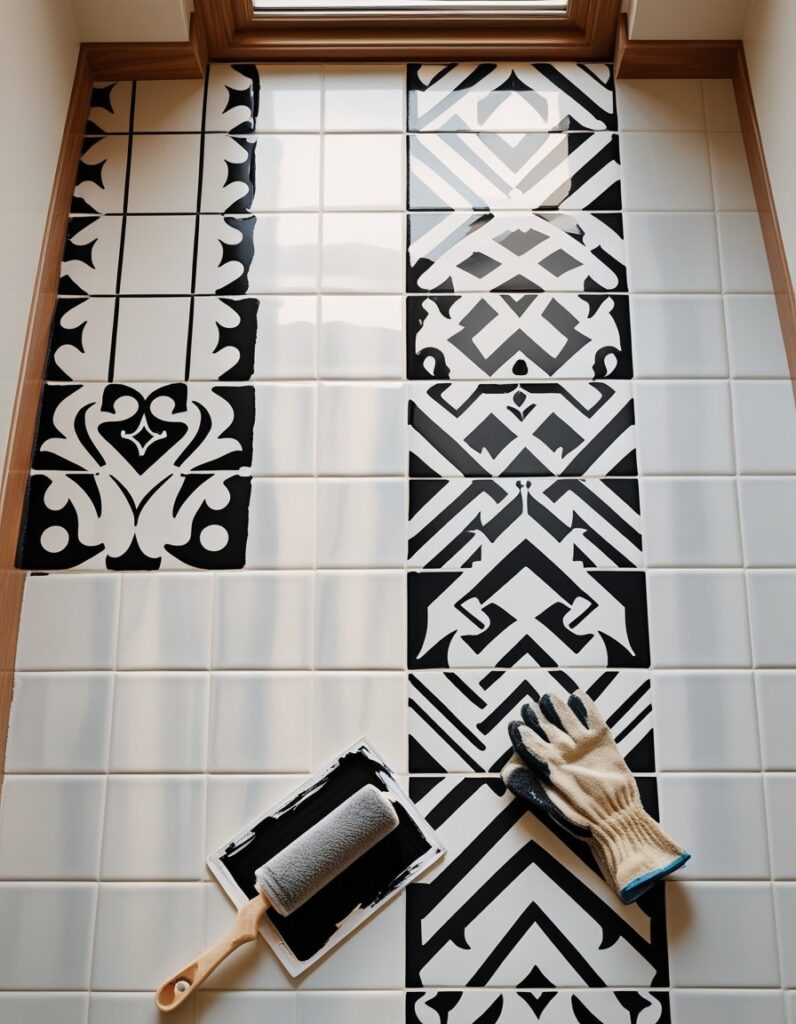
Now here comes the fun part. I decided to use a stencil for a vintage-meets-modern pattern. There’s something satisfying about watching that black-and-white design come together row by row.
If you’re going for a clean look, a solid color works great. Want something creative? Try geometric or floral stencils. Make sure to tape them down tightly, and go slow with the roller. Don’t flood the design with too much paint. It’s not a race—it’s art for your feet.

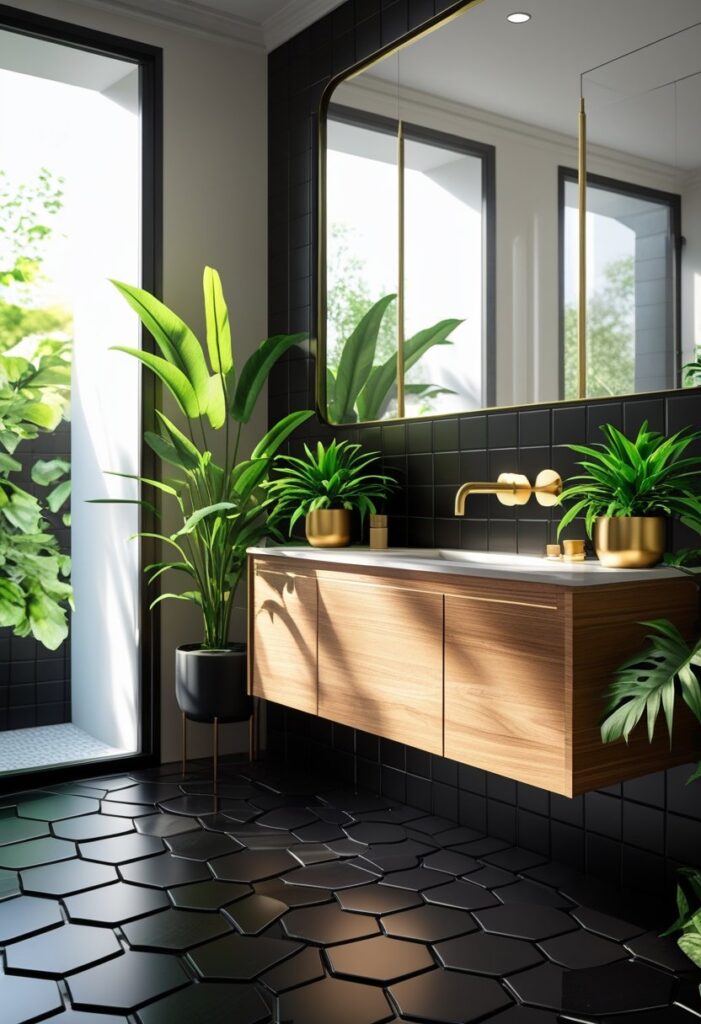
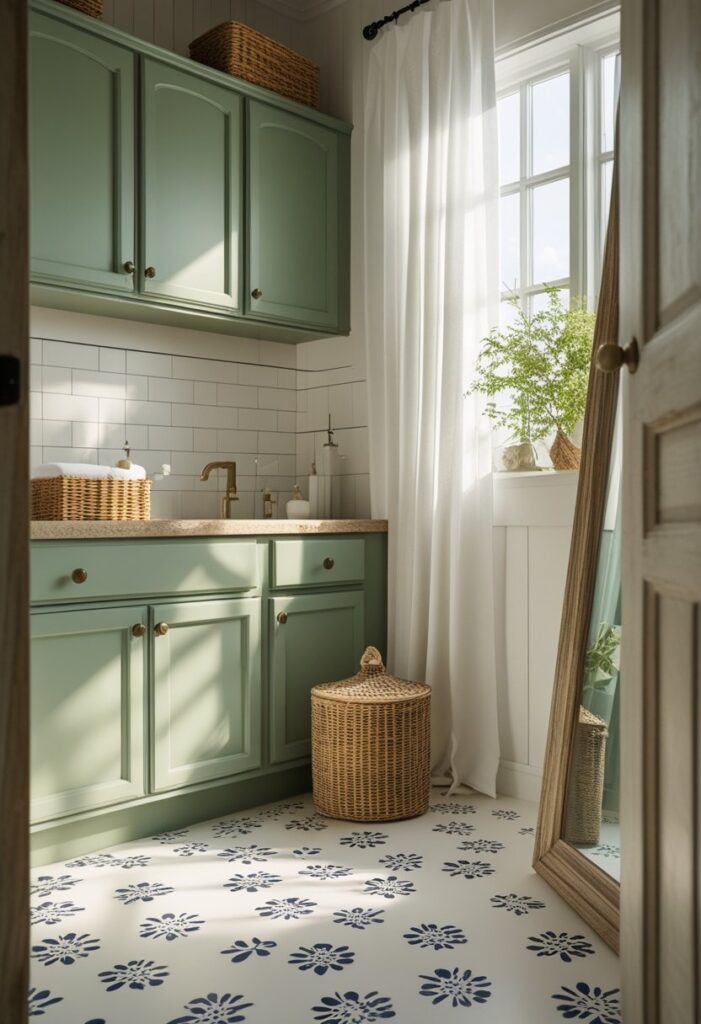
Color Inspiration: From Plain to Bold
I played around with a few color ideas before I settled. Some friends went bold—like matte black tiles with gold accents and green plants (see Image 1). Others loved the soft vintage charm of navy floral patterns on white (Image 2). And I almost picked a light marble effect (Image 3), which looks so clean and luxe.
Your floor sets the tone. I chose something mid-ground—neutral but stylish. You can always switch it up later if you get bored. That’s the beauty of paint!
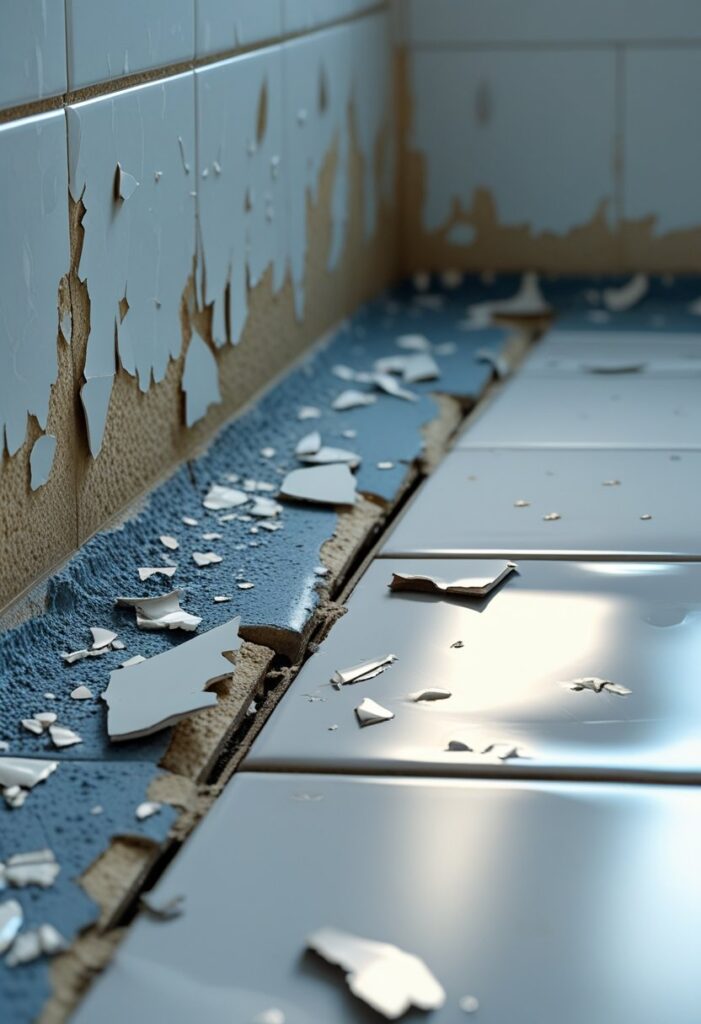
What Happens If You Do It Wrong (Oops!)
Let me show you what not to do. A friend of mine skipped primer and painted directly on her tiles. Looked fine for a week—until it didn’t. The paint peeled, cracked, and flaked like pastry crust.
Moisture, bad prep, and rushing the process = disaster. Seeing her tiles literally fall apart reminded me why the “boring” prep steps matter so much. Trust me, it’s less fun to scrape off failure than to spend 10 extra minutes doing it right.
My Finished Look and Final Thoughts
After two coats of paint and one sealer layer, my bathroom looked brand new. I kept walking in just to admire it. No exaggeration—I even made my guests look at it. “This floor? I painted it.” (Yes, I was that person.)
It’s held up for months now, and cleaning it is easy. The whole process taught me patience, precision, and how far a little paint can go. So if you’re thinking of painting your tile floor—do it. But prep like a pro, paint with purpose, and seal it like you mean it.